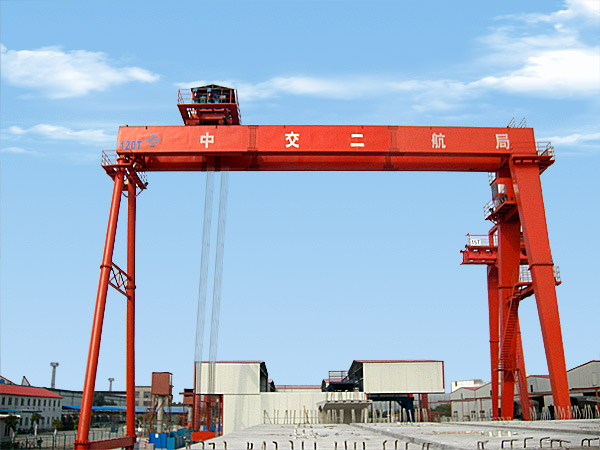
The installation steps of gantry crane
The gantry crane is a kind of large lifting equipment which is mainly operated outdoor. In order to reduce the risk of crane accident, we must strictly comply with the correct installation steps to the complete the whole assembly when we are installing the gantry crane.
1, With the crane, mark the assembled main girder, support leg, gearboxes etc. on the ground. After checking it, begin to assemble one by one with the crane. Firstly lift the girders with the crane and divide them into two sides as per the numbers. Also install the walking platform and wait for the next step.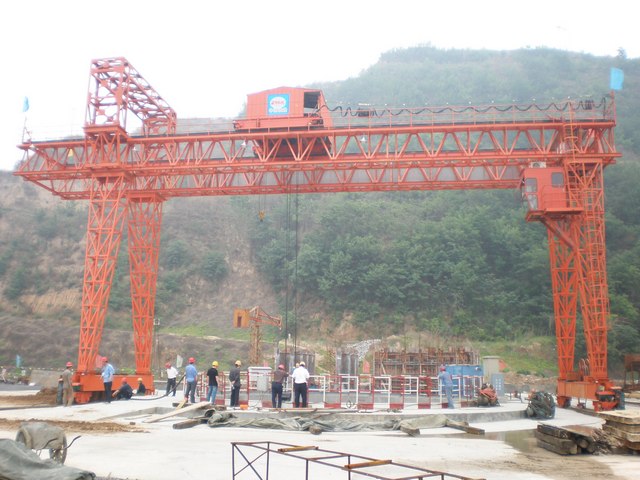
2, Fix the wheel boxes of the crane on the rails, pull the diagonal line to find the appropriate position. Assemble the support leg with the wheel boxes with the crane, make sure that they are firmly connected with the pins. Make the adjustment with the steel rope and chain hoist, then fix them on the ground anchors. Assemble the other side in the same way. Make the support leg perpendicular with the ground to guarantee the installation dimension of the main girder.
3, Lift slowly one side of the main girders on the support legs with 2 sets of the truck cranes, connect firmly the connecting plate under the main girder and joists above the support legs with the bolts. Then install the other side of the main girder. Special attention: Prohibit loosing the hook before the main girder is connected firmly.
4, Lift the connecting frame with a set of truck crane and fix it firmly with the bolts.
5, Hoist the trolley on the tracks with a set of truck crane, adjust it and make the wheel tread surface contacting with the track.
6, Lift the operating room, ladder, walking platform, railings and other accessories to the certain positions.
7, Install the electrical facilities, lay the electrical lines, remove the ropes, anchors and other devices. Prepare the test once everything is already. During the commissioning, make the record according to the requirements of the quality inspection department.


